Loading...
Loading...
Loading...
Loading...
Loading...
Loading...
Loading...
Loading...
Loading...
Loading...
Loading...
Loading...
Loading...
Loading...
Loading...
Loading...
Loading...
Loading...
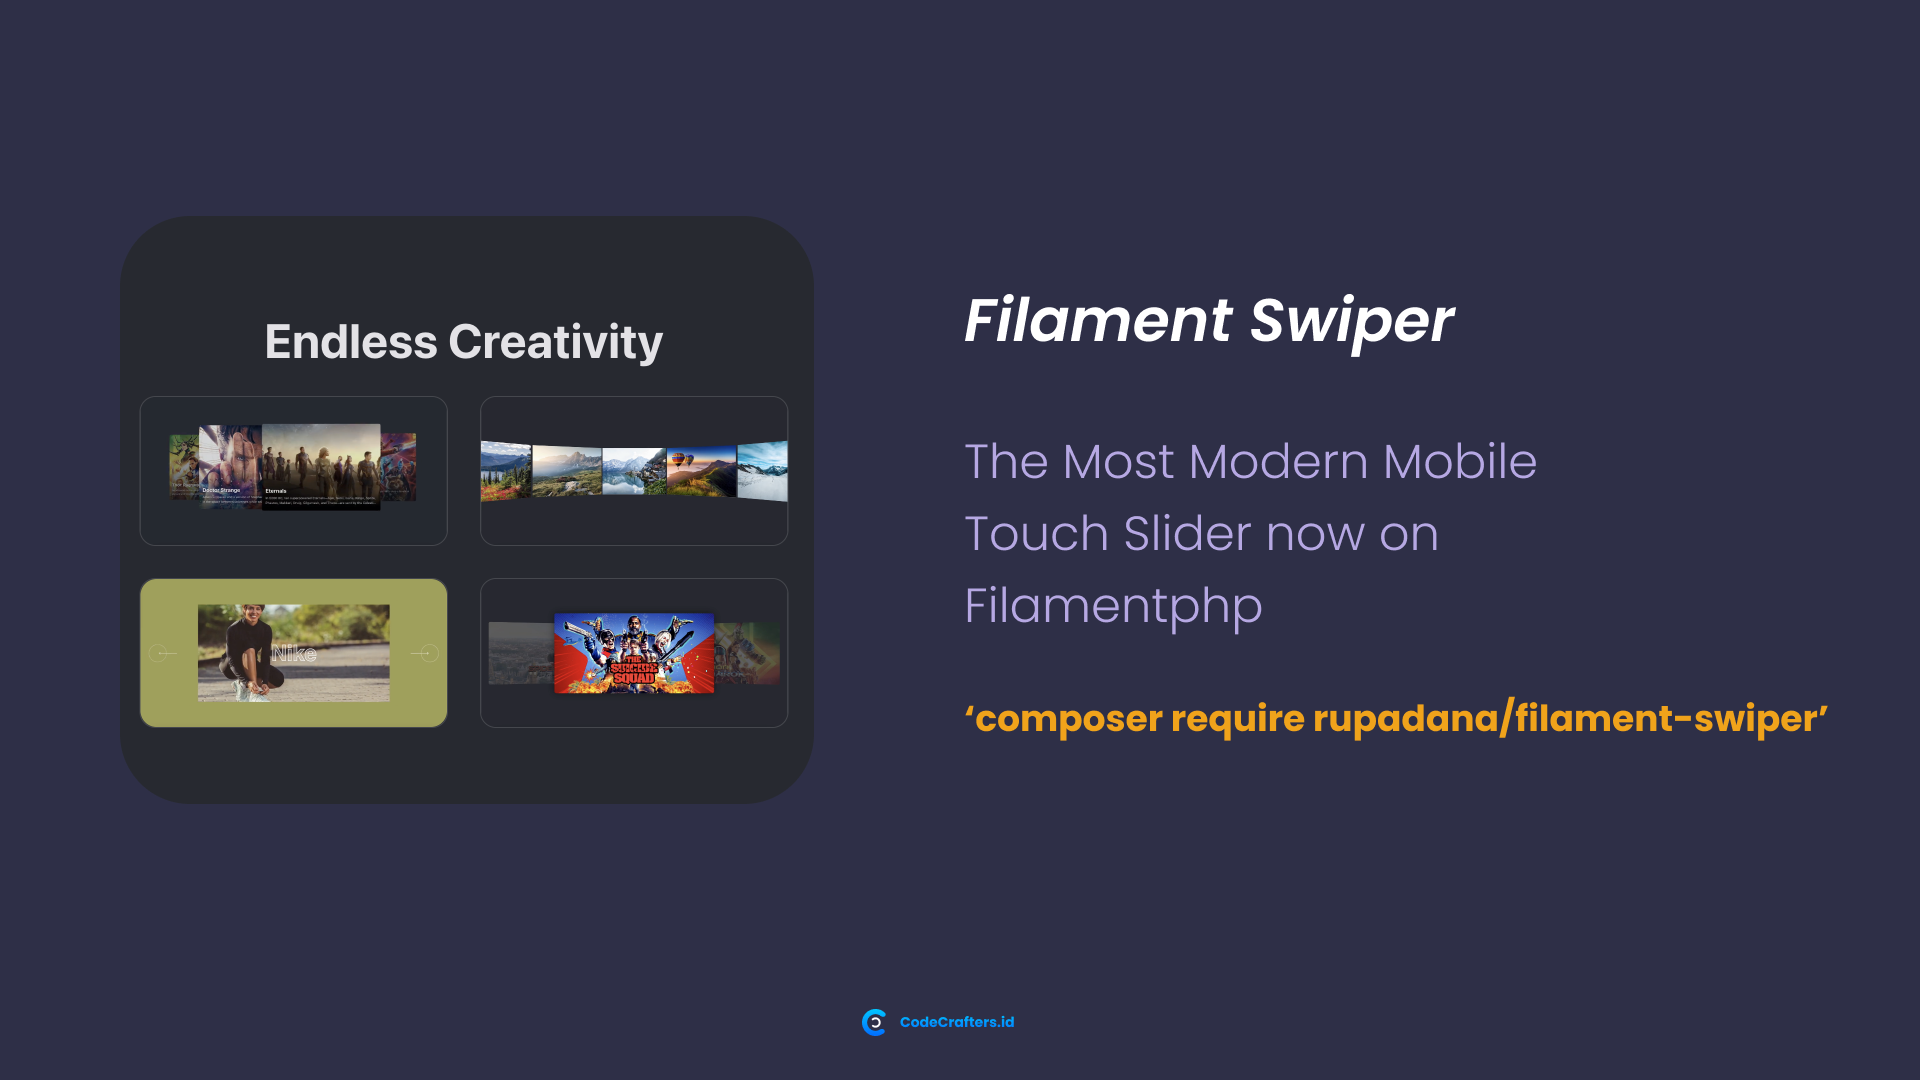
pg_dumpcomposer create-project rupadana/remote-database-backupphp artisan app:install\App\Filament\Resources\DatabaseResource\Services\Backup\BackupRunner::register(CustomBackupRunner::class);The Most Modern Mobile Touch Slider now on FilamentPHP
composer require rupadana/filament-swiperpublic function infolists(Infolists $infolists) {
return $infolists
->schema([
\Rupadana\FilamentSwiper\Infolists\Components\SwiperImageEntry::make('attachment')
->navigation(false)
->pagination()
->paginationType(SwiperImageEntry::BULLETS)
->paginationClickable()
->paginationDynamicBullets()
->paginationHideOnClick()
->paginationDynamicMainBullets(2)
->scrollbar()
->scrollbarDragSize(100)
->scrollbarDraggable()
->scrollbarSnapOnRelease()
->scrollbarHide(false)
->height(300)
->autoplay()
->effect(SwiperImageEntry::CARDS_EFFECT)
->cardsPerSlideOffset(2)
->autoplayDelay(500)
->centeredSlides()
->slidesPerView(2)
])
} <?php
namespace App\Livewire\Widgets;
use App\Livewire\Components\Feature;
use Rupadana\FilamentSwiper\Widgets\SwiperWidget;
class Swipget extends SwiperWidget
{
public function getComponents(): array
{
return [
// Your livewire component
];
}
}
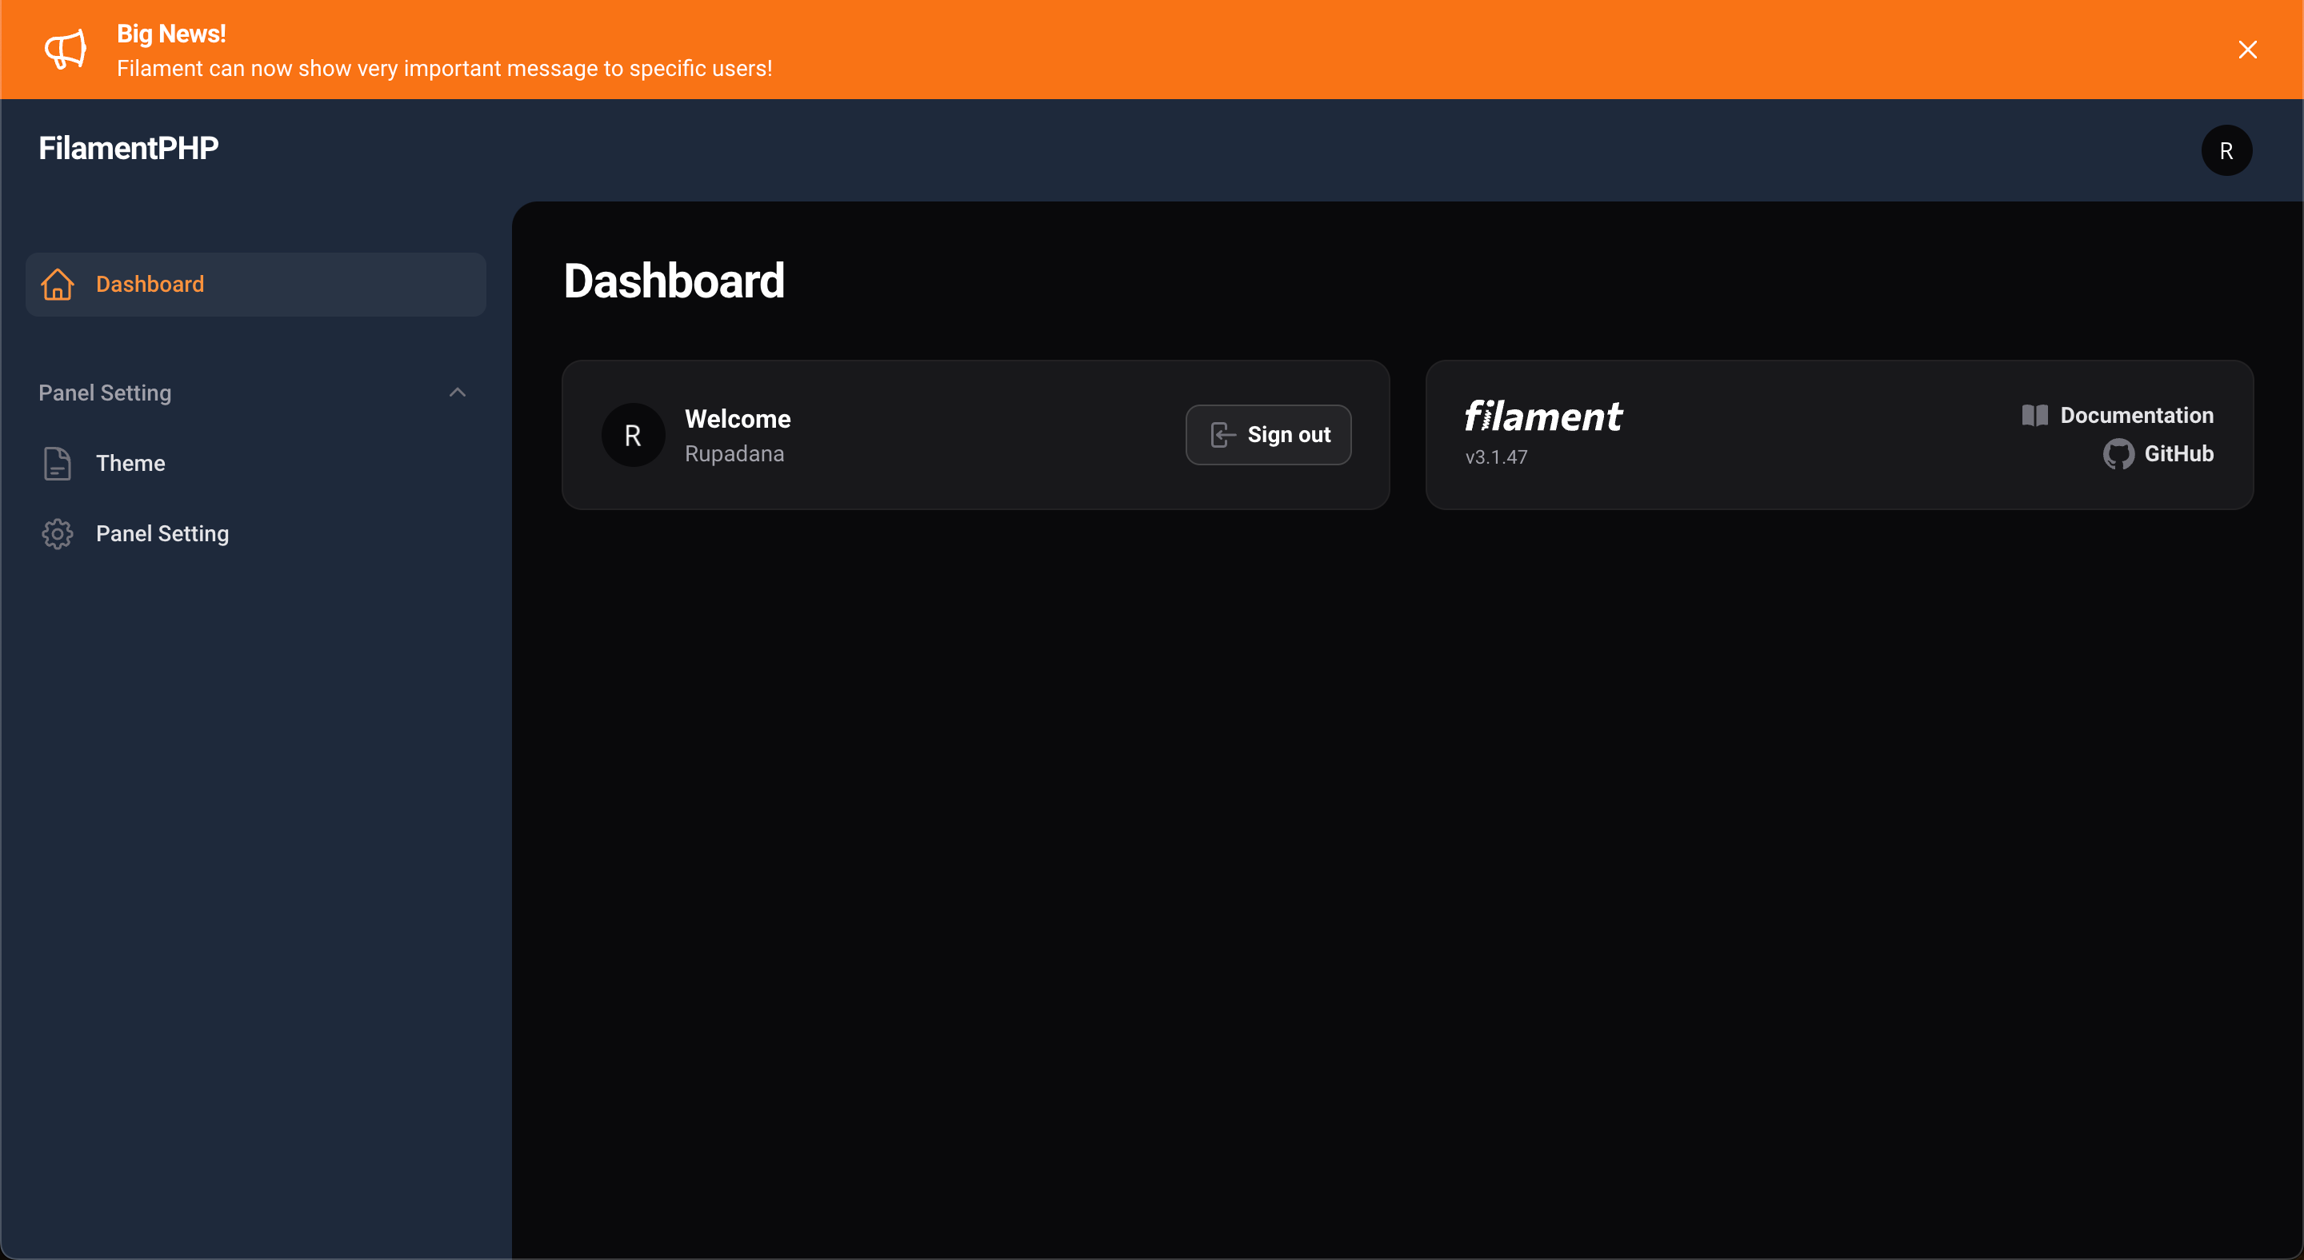
ssh root@your.server.public.ipnano .ssh/authorized_keysThe easiest way to shout announcements in filament!


usingResource method when registering the plugin:composer require rupadana/filament-announce# Laravel 11 and higher
php artisan make:notifications-table
# Laravel 10
php artisan notifications:tablephp artisan migratephp artisan vendor:publish --tag="filament-announce-views"php artisan vendor:publish --tag="filament-announce-config"return [
'navigation' => [
'group' => '',
'sort' => 1
],
'can_access' => [
'role' => ['super_admin']
]
];use Rupadana\FilamentAnnounce\FilamentAnnouncePlugin;
use Filament\Support\Colors\Color;
class CustomersPanelProvider extends PanelProvider
{
public function panel(Panel $panel): Panel
{
return $panel
...
->plugin(
FilamentAnnouncePlugin::make()
->pollingInterval('30s') // optional, by default it is set to null
->defaultColor(Color::Blue) // optional, by default it is set to "primary"
)
}
}
use Rupadana\FilamentAnnounce\FilamentAnnouncePlugin;
use Filament\Support\Colors\Color;
class CustomersPanelProvider extends PanelProvider
{
    public function panel(Panel $panel): Panel
    {
        return $panel
            ...
            ->plugin(
                FilamentAnnouncePlugin::make()
                    ->usingResource(MyCustomAnnouncementResource::class)
                    ->pollingInterval('30s') // optional, by default it is set to null
                    ->defaultColor(Color::Blue) // optional, by default it is set to "primary"

            )
    }
}
use App\Models\User;
use Rupadana\FilamentAnnounce\Announce;

Announce::make()
    ->title('Big News!')
    ->icon('heroicon-o-megaphone')
    ->body('Filament can now show very important message to specific users!')
    ->disableCloseButton() // Optional, if you want ur announcement discloseable
->announceTo(User::all());use App\Models\User;
use Filament\Support\Enums\Alignment;
use Rupadana\FilamentAnnounce\Announce;
Announce::make()
->title('Big News!')
->icon('heroicon-o-megaphone')
->body('Filament can now show very important message to specific users!')
->alignment(Alignment::Center) // this will set both title and body alignments (common alignment)
->titleAlignment(Alignment::Start) // this will set title alignment and take precedence over common alignment methods
->bodyAlignment(Alignment::Start) // this will set body alignment and take precedence over common alignment methods
->actions([
Action::make('view')
->button(),
Action::make('undo')
->color('gray'),
])
->announceTo(User::all());use App\Models\User;
use Rupadana\FilamentAnnounce\Announce;
Announce::make()
->title('Big News!')
->icon('heroicon-o-megaphone')
->body('Filament can now show very important message to specific users!')
->actions([
Action::make('view')
->button(),
Action::make('undo')
->color('gray'),
])
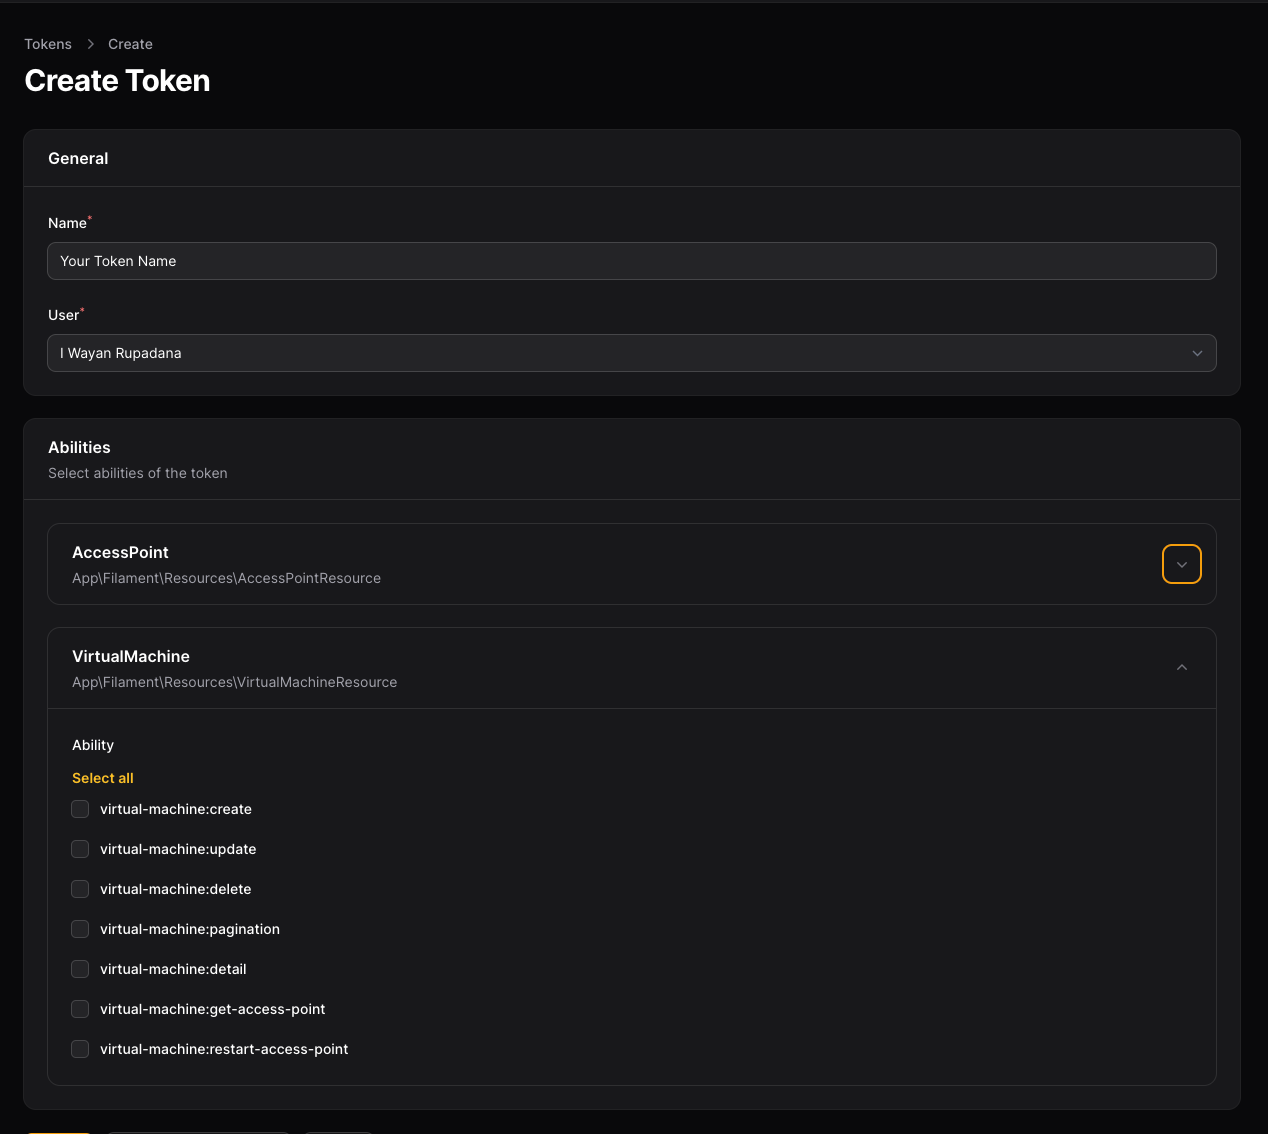
->announceTo(User::all());composer testA simple API service for supporting FilamentPHP
composer require rupadana/filament-api-serviceuse Rupadana\ApiService\ApiServicePlugin;
$panel->plugins([
ApiServicePlugin::make()
])php artisan vendor:publish --tag=api-service-config
return [
    'navigation' => [
        'token' => [
            'cluster' => null,
            'group' => 'User',
            'sort' => -1,
            'icon' => 'heroicon-o-key'
        ]
    ],
    'models' => [
        'token' => [
            'enable_policy' => true,
        ],
    ],
    'route' => [
        'panel_prefix' => true,
        'use_resource_middlewares' => false,
    ],
    'tenancy' => [
        'enabled' => false,
        'awareness' => false,
    ]
];php artisan make:filament-api-service BlogResourcegit clone https://github.com/rupadana/code-deploycomposer installcomposer run-script post-root-package-installsudo apt update && sudo apt upgrade -y
sudo apt install -y git gcc make unzip jqver="1.22.2"
cd $HOME
wget "https://golang.org/dl/go$ver.linux-amd64.tar.gz"
sudo rm -rf /usr/local/go
sudo tar -C /usr/local -xzf "go$ver.linux-amd64.tar.gz"
rm "go$ver.linux-amd64.tar.gz"
echo "export PATH=$PATH:/usr/local/go/bin:$HOME/go/bin" >> ~/.bash_profile
source ~/.bash_profile
go versionecho "export WALLET="wallet"" >> $HOME/.bash_profile
echo "export MONIKER="Moniker"" >> $HOME/.bash_profile
echo "export EMPED_CHAIN_ID="empe-testnet-2"" >> $HOME/.bash_profile
echo "export EMPED_PORT="14"" >> $HOME/.bash_profile
source $HOME/.bash_profilecd $HOME
curl -LO https://github.com/empe-io/empe-chain-releases/raw/master/v0.1.0/emped_linux_amd64.tar.gz
tar -xvf emped_linux_amd64.tar.gz
mv emped ~/go/binemped init $MONIKER --chain-id empe-testnet-2
emped config chain-id $EMPED_CHAIN_ID
emped config keyring-backend testwget -O $HOME/.empephp artisan key:generate --ansiphp artisan shield:install'models' => [
'token' => [
'enable_policy' => false // default: true
]
],class User extends Model {
// Which fields can be selected from the database through the query string
public static array $allowedFields = [
'name'
];
// Which fields can be used to sort the results through the query string
public static array $allowedSorts = [
'name',
'created_at'
];
// Which fields can be used to filter the results through the query string
public static array $allowedFilters = [
'name'
];
}php artisan make:filament-api-handler BlogResourcephp artisan make:filament-api-handler Blogphp artisan make:filament-api-transformer Blog<?php
namespace App\Filament\Resources\BlogResource\Api\Transformers;
use Illuminate\Http\Resources\Json\JsonResource;
class BlogTransformer extends JsonResource
{
/**
* Transform the resource into an array.
*
* @param \Illuminate\Http\Request $request
* @return array
*/
public function toArray($request)
{
return $this->resource->toArray();
// or
return md5(json_encode($this->resource->toArray()));
}
} use App\Filament\Resources\BlogResource\Api\Transformers\BlogTransformer;
class BlogResource extends Resource
{
...
public static function getApiTransformer()
{
return BlogTransformer::class;
}
...
} class BlogApiService extends ApiService
{
...
protected static string | null $groupRouteName = 'myblog';
...
}class BlogResource extends Resource
{
...
protected static string | array $routeMiddleware = []; // <-- your specific resource middlewares
...
}use Rupadana\ApiService\ApiServicePlugin;
$panel->plugins([
ApiServicePlugin::make()
->middleware([
// ... add your middlewares
])
]) POST api/admin/{tenant}/blog
GET|HEAD api/admin/{tenant}/blog
PUT api/admin/{tenant}/blog/{id}
DELETE api/admin/{tenant}/blog/{id}
GET|HEAD api/admin/{tenant}/blog/{id}class PaginationHandler extends Handlers {
public static bool $public = true;
}


PORT=3001
LOGGER_LEVEL=debug

# Chasm
ORCHESTRATOR_URL=https://orchestrator.chasm.net
SCOUT_NAME=
SCOUT_UID=
WEBHOOK_API_KEY=
# Scout Webhook Url, update based on your server's IP and Port
# e.g. http://123.123.123.123:3001/
WEBHOOK_URL=

# Chosen Provider (groq, openai)
PROVIDERS=groq
MODEL=gemma2-9b-it
GROQ_API_KEY=

# Optional
OPENROUTER_API_KEY=
OPENAI_API_KEY=docker stats scoutdocker stop scout
docker rm scout
docker run -d --restart=always --env-file ./.env -p 3001:3001 --name scout johnsonchasm/chasm-scoutsource ./.env
curl -X POST \
-H "Content-Type: application/json" \
-H "Authorization: Bearer $WEBHOOK_API_KEY" \
-d '{"body":"{\"model\":\"gemma2-9b-it\",\"messages\":[{\"role\":\"system\",\"content\":\"You are a helpful assistant.\"}]}"}' \
$WEBHOOK_URLcurl localhost:3001docker logs scoutdocker run -d --restart=always --env-file ./.env -p 3001:3001 --name scout chasmtech/chasm-scoutdocker pull chasmtech/chasm-scout:latest

